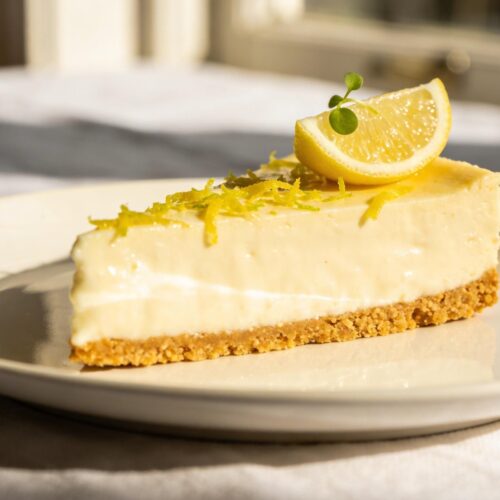
Vegan Lemon Cheesecake: Silky, Dreamy & Irresistible
Discover how to make the perfect vegan lemon cheesecake with this easy recipe. Creamy, tangy, and absolutely delicious – no dairy needed!
Ingredients
For The Crust
- 2 cups graham cracker crumbs use vegan-certified
- ⅓ cup melted coconut oil
- 2 tablespoons maple syrup
- Pinch of salt
For The Filling
- 2 cups raw cashews soaked overnight or in hot water for 1 hour
- ¾ cup full-fat coconut cream
- ½ cup fresh lemon juice about 3-4 lemons
- 2 tablespoons lemon zest
- ¾ cup maple syrup or agave nectar
- ⅓ cup melted coconut oil
- 1 teaspoon vanilla extract
- Pinch of salt
Instructions
- Prepare your pan: Line a 9-inch springform pan with parchment paper on the bottom and lightly grease the sides. This makes removal so much easier later!
- Make the crust: Mix graham cracker crumbs, melted coconut oil, maple syrup, and salt in a bowl until it resembles wet sand. Press firmly into the bottom of your prepared pan. Pop it in the freezer while you make the filling.
- Drain and rinse your cashews: Make sure they're completely drained to avoid a watery filling. Pat them dry with a clean kitchen towel.
- Blend the filling: Add all filling ingredients to a high-speed blender. Blend on high for 2-3 minutes until completely smooth and silky. Stop to scrape down the sides as needed. The mixture should be totally creamy with no graininess.
- Pour and smooth: Remove the crust from the freezer and pour the filling over it. Tap the pan gently on the counter to release any air bubbles, then smooth the top with a spatula.
- Freeze: Cover the pan with plastic wrap or foil and freeze for at least 6 hours or overnight. This vegan lemon cheesecake needs time to set properly.
- Serve: Remove from freezer 15-20 minutes before serving to let it soften slightly. Run a knife under hot water and wipe dry, then run it around the edges before releasing the springform. Slice and enjoy!
