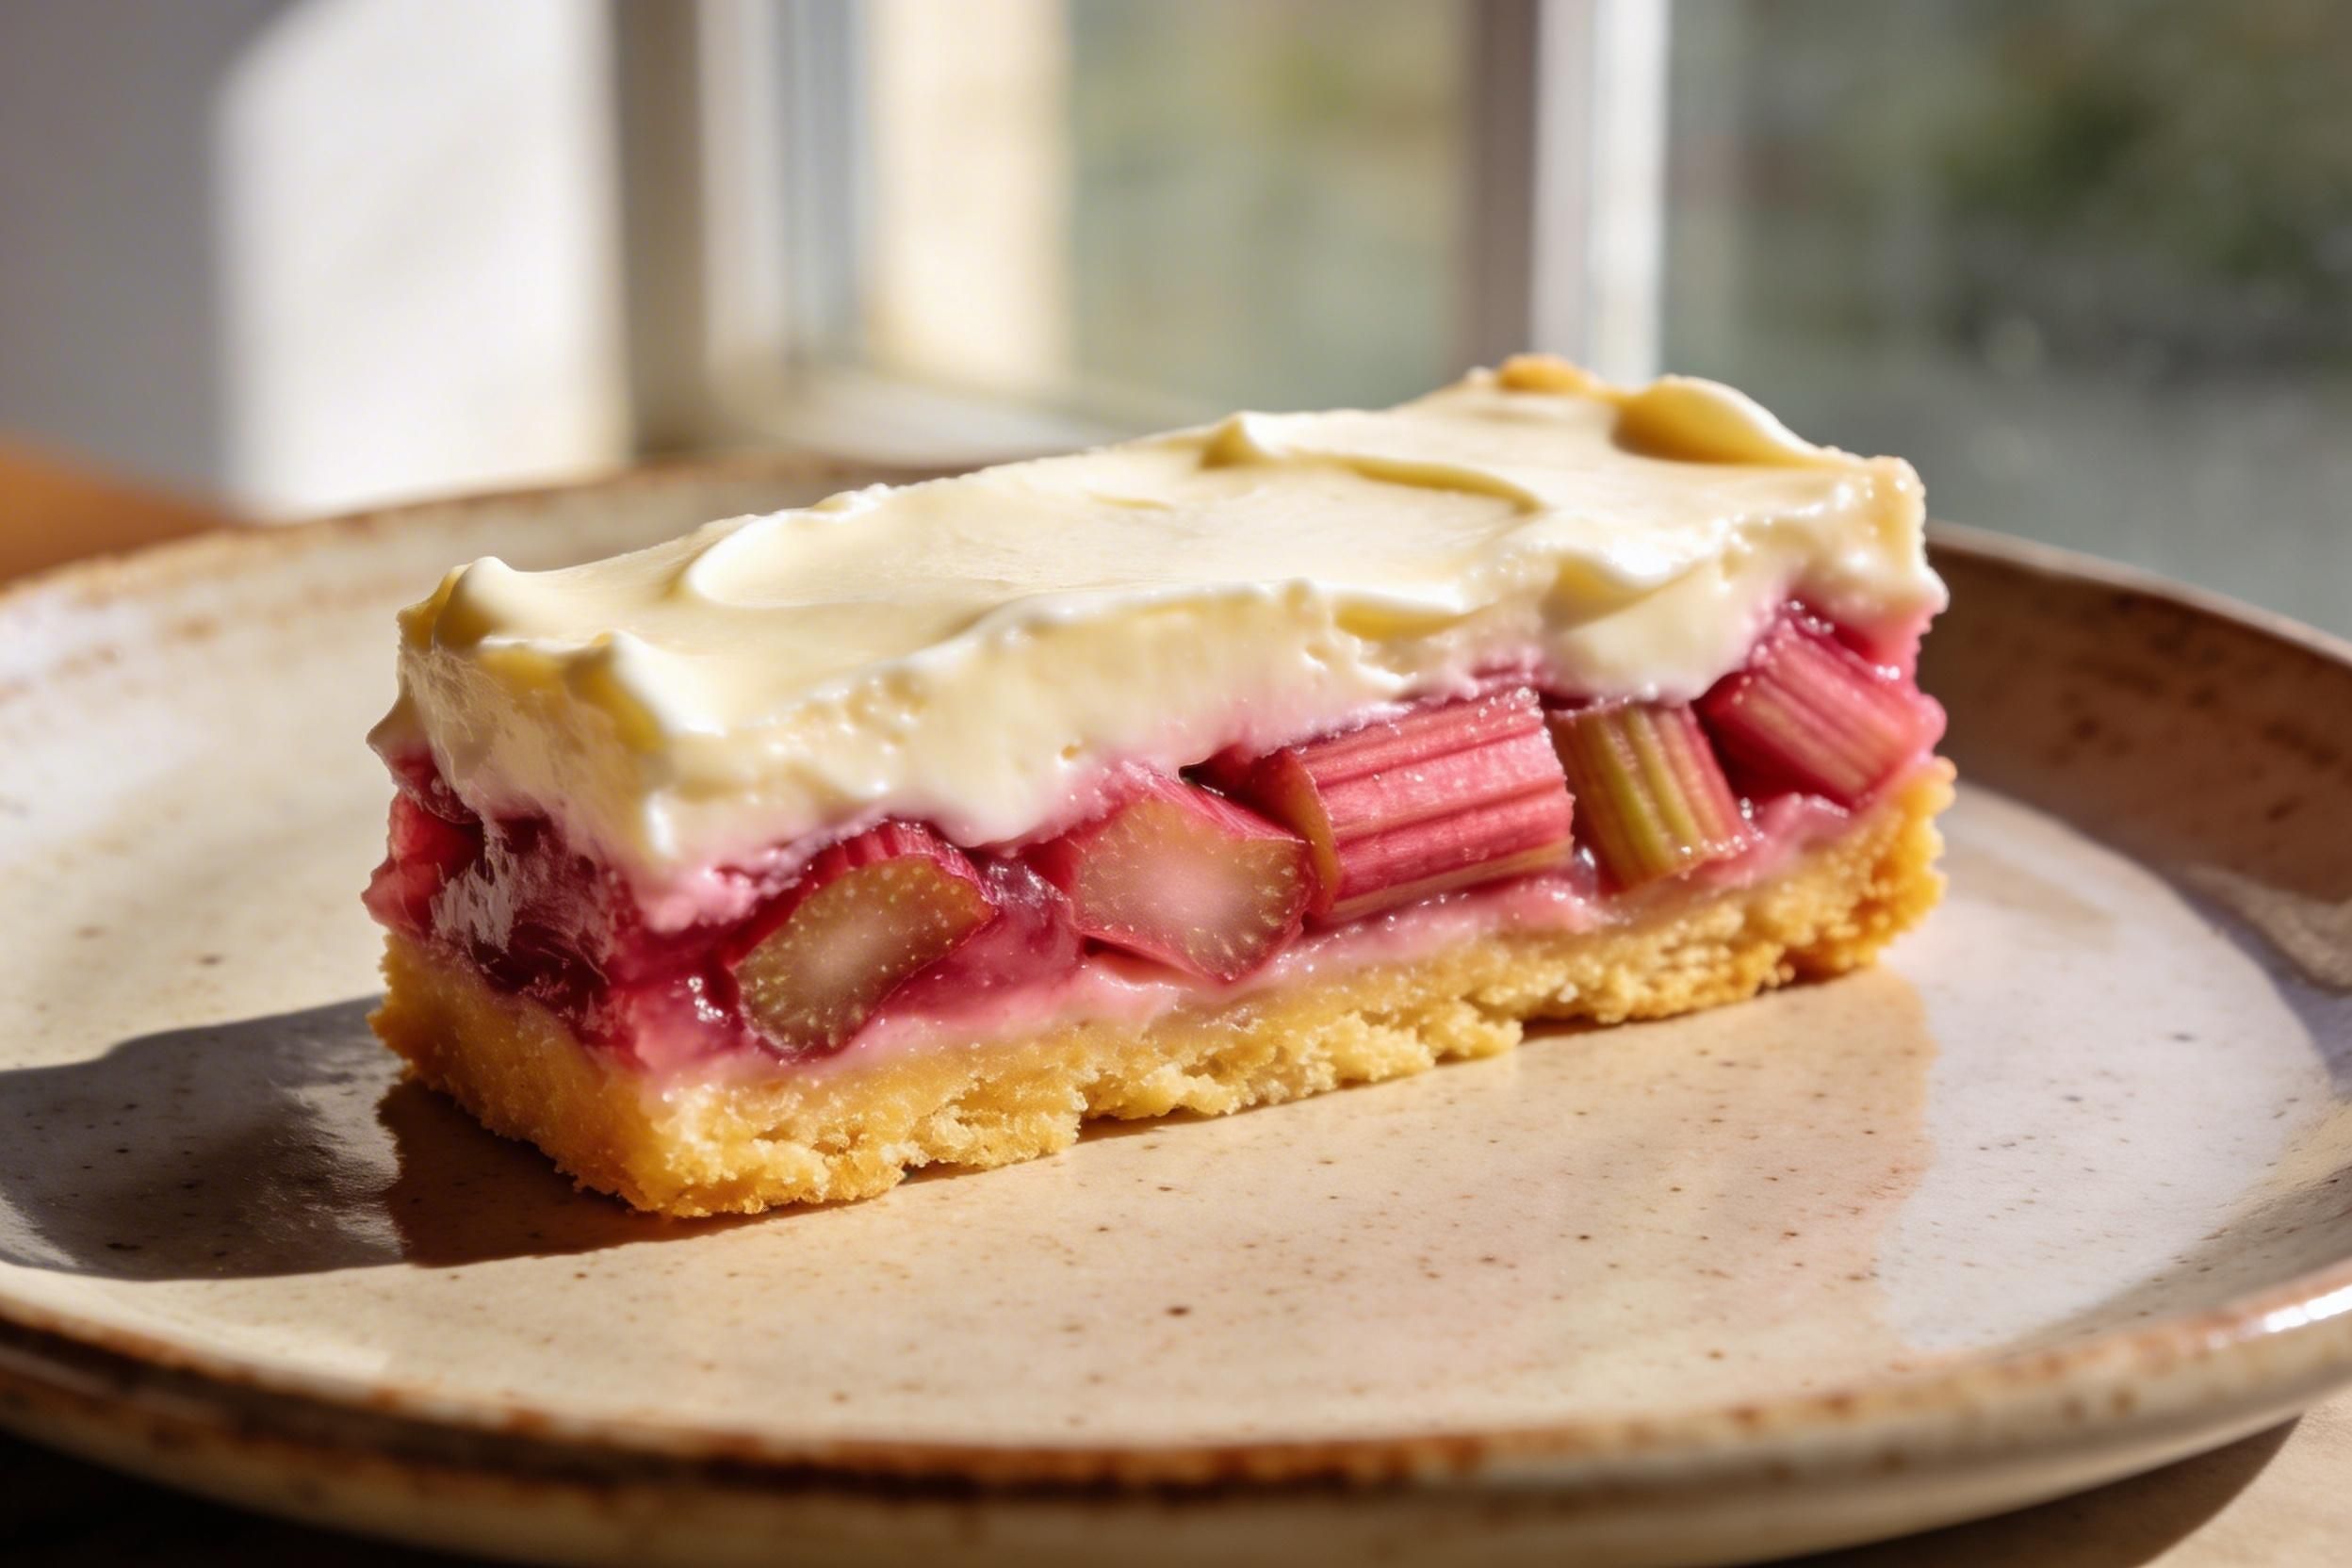
Dreamy Rhubarb Cream Cheese Bars
There’s something magical about the first rhubarb stalks of spring showing up at the farmer’s market. When I first made these rhubarb cream cheese bars, I knew I’d stumbled onto something special! The combination of tangy rhubarb, sweet cream cheese, and a buttery shortbread crust creates the perfect balance of flavors.
These bars have become my go-to dessert whenever I want to impress guests without spending hours in the kitchen. Trust me, once you try them, you’ll be making them all season long.
What Makes This Recipe So Good
These rhubarb cream cheese bars stand out because they bring together three distinct layers that complement each other perfectly. The bottom layer features a buttery, crumbly shortbread crust that provides the ideal foundation. It’s sturdy enough to hold everything together but still melts in your mouth.
The middle layer showcases fresh rhubarb in all its glory. The tartness of the rhubarb cuts through the richness of the other layers, creating a balanced dessert that’s not too sweet. This is what makes these bars so addictive!
The top layer is where the cream cheese works its magic. It adds a luxurious, tangy creaminess that ties everything together. The slight tang from the cream cheese actually enhances the rhubarb’s natural tartness rather than masking it.
Ingredients You Need
For the crust:
- 2 cups all-purpose flour
- 1 cup unsalted butter, softened
- 1/2 cup granulated sugar
- 1/4 teaspoon salt
For the rhubarb filling:
- 4 cups fresh rhubarb, chopped into 1/2-inch pieces
- 1 1/2 cups granulated sugar
- 1/3 cup all-purpose flour
- 1/4 teaspoon cinnamon (optional)
For the cream cheese topping:
- 8 ounces cream cheese, softened
- 1/2 cup granulated sugar
- 2 large eggs
- 1 teaspoon vanilla extract
- 1/4 cup sour cream
How to Make My Rhubarb Cream Cheese Bars
- Prepare your pan: Preheat your oven to 350°F. Line a 9×13-inch baking pan with parchment paper, leaving some overhang on the sides for easy removal later.
- Make the crust: Mix the flour, softened butter, sugar, and salt in a large bowl until the mixture resembles coarse crumbs. Press this mixture firmly into the bottom of your prepared pan. Bake for 15-18 minutes until lightly golden.
- Prepare the rhubarb filling: While the crust bakes, combine the chopped rhubarb, sugar, flour, and cinnamon in a medium bowl. Toss everything together until the rhubarb is evenly coated.
- Make the cream cheese mixture: Beat the softened cream cheese and sugar together until smooth and fluffy. Add the eggs one at a time, beating well after each addition. Mix in the vanilla extract and sour cream until completely combined.
- Assemble the bars: Once the crust is done, spread the rhubarb mixture evenly over the hot crust. Pour the cream cheese mixture over the rhubarb layer, spreading it gently to cover everything.
- Bake to perfection: Return the pan to the oven and bake for 40-45 minutes. The bars are done when the cream cheese layer is set and just slightly jiggly in the center.
- Cool completely: Let the bars cool to room temperature in the pan, then refrigerate for at least 2 hours before cutting. This helps them set properly and makes cutting much easier.
Storage Instructions
- Refrigerator storage: Keep your rhubarb cream cheese bars in an airtight container in the refrigerator for up to 5 days. The cream cheese topping requires refrigeration, so don’t leave them at room temperature for extended periods.
- Freezing option: These bars freeze beautifully! Wrap individual bars in plastic wrap, then place them in a freezer-safe container. They’ll keep for up to 3 months frozen.
- Thawing instructions: When you’re ready to enjoy frozen bars, transfer them to the refrigerator overnight. Let them sit at room temperature for about 15 minutes before serving for the best texture.
- Serving temperature: These bars taste best when served chilled or at cool room temperature. The flavors really shine when they’re not too cold.
Benefits of This Recipe
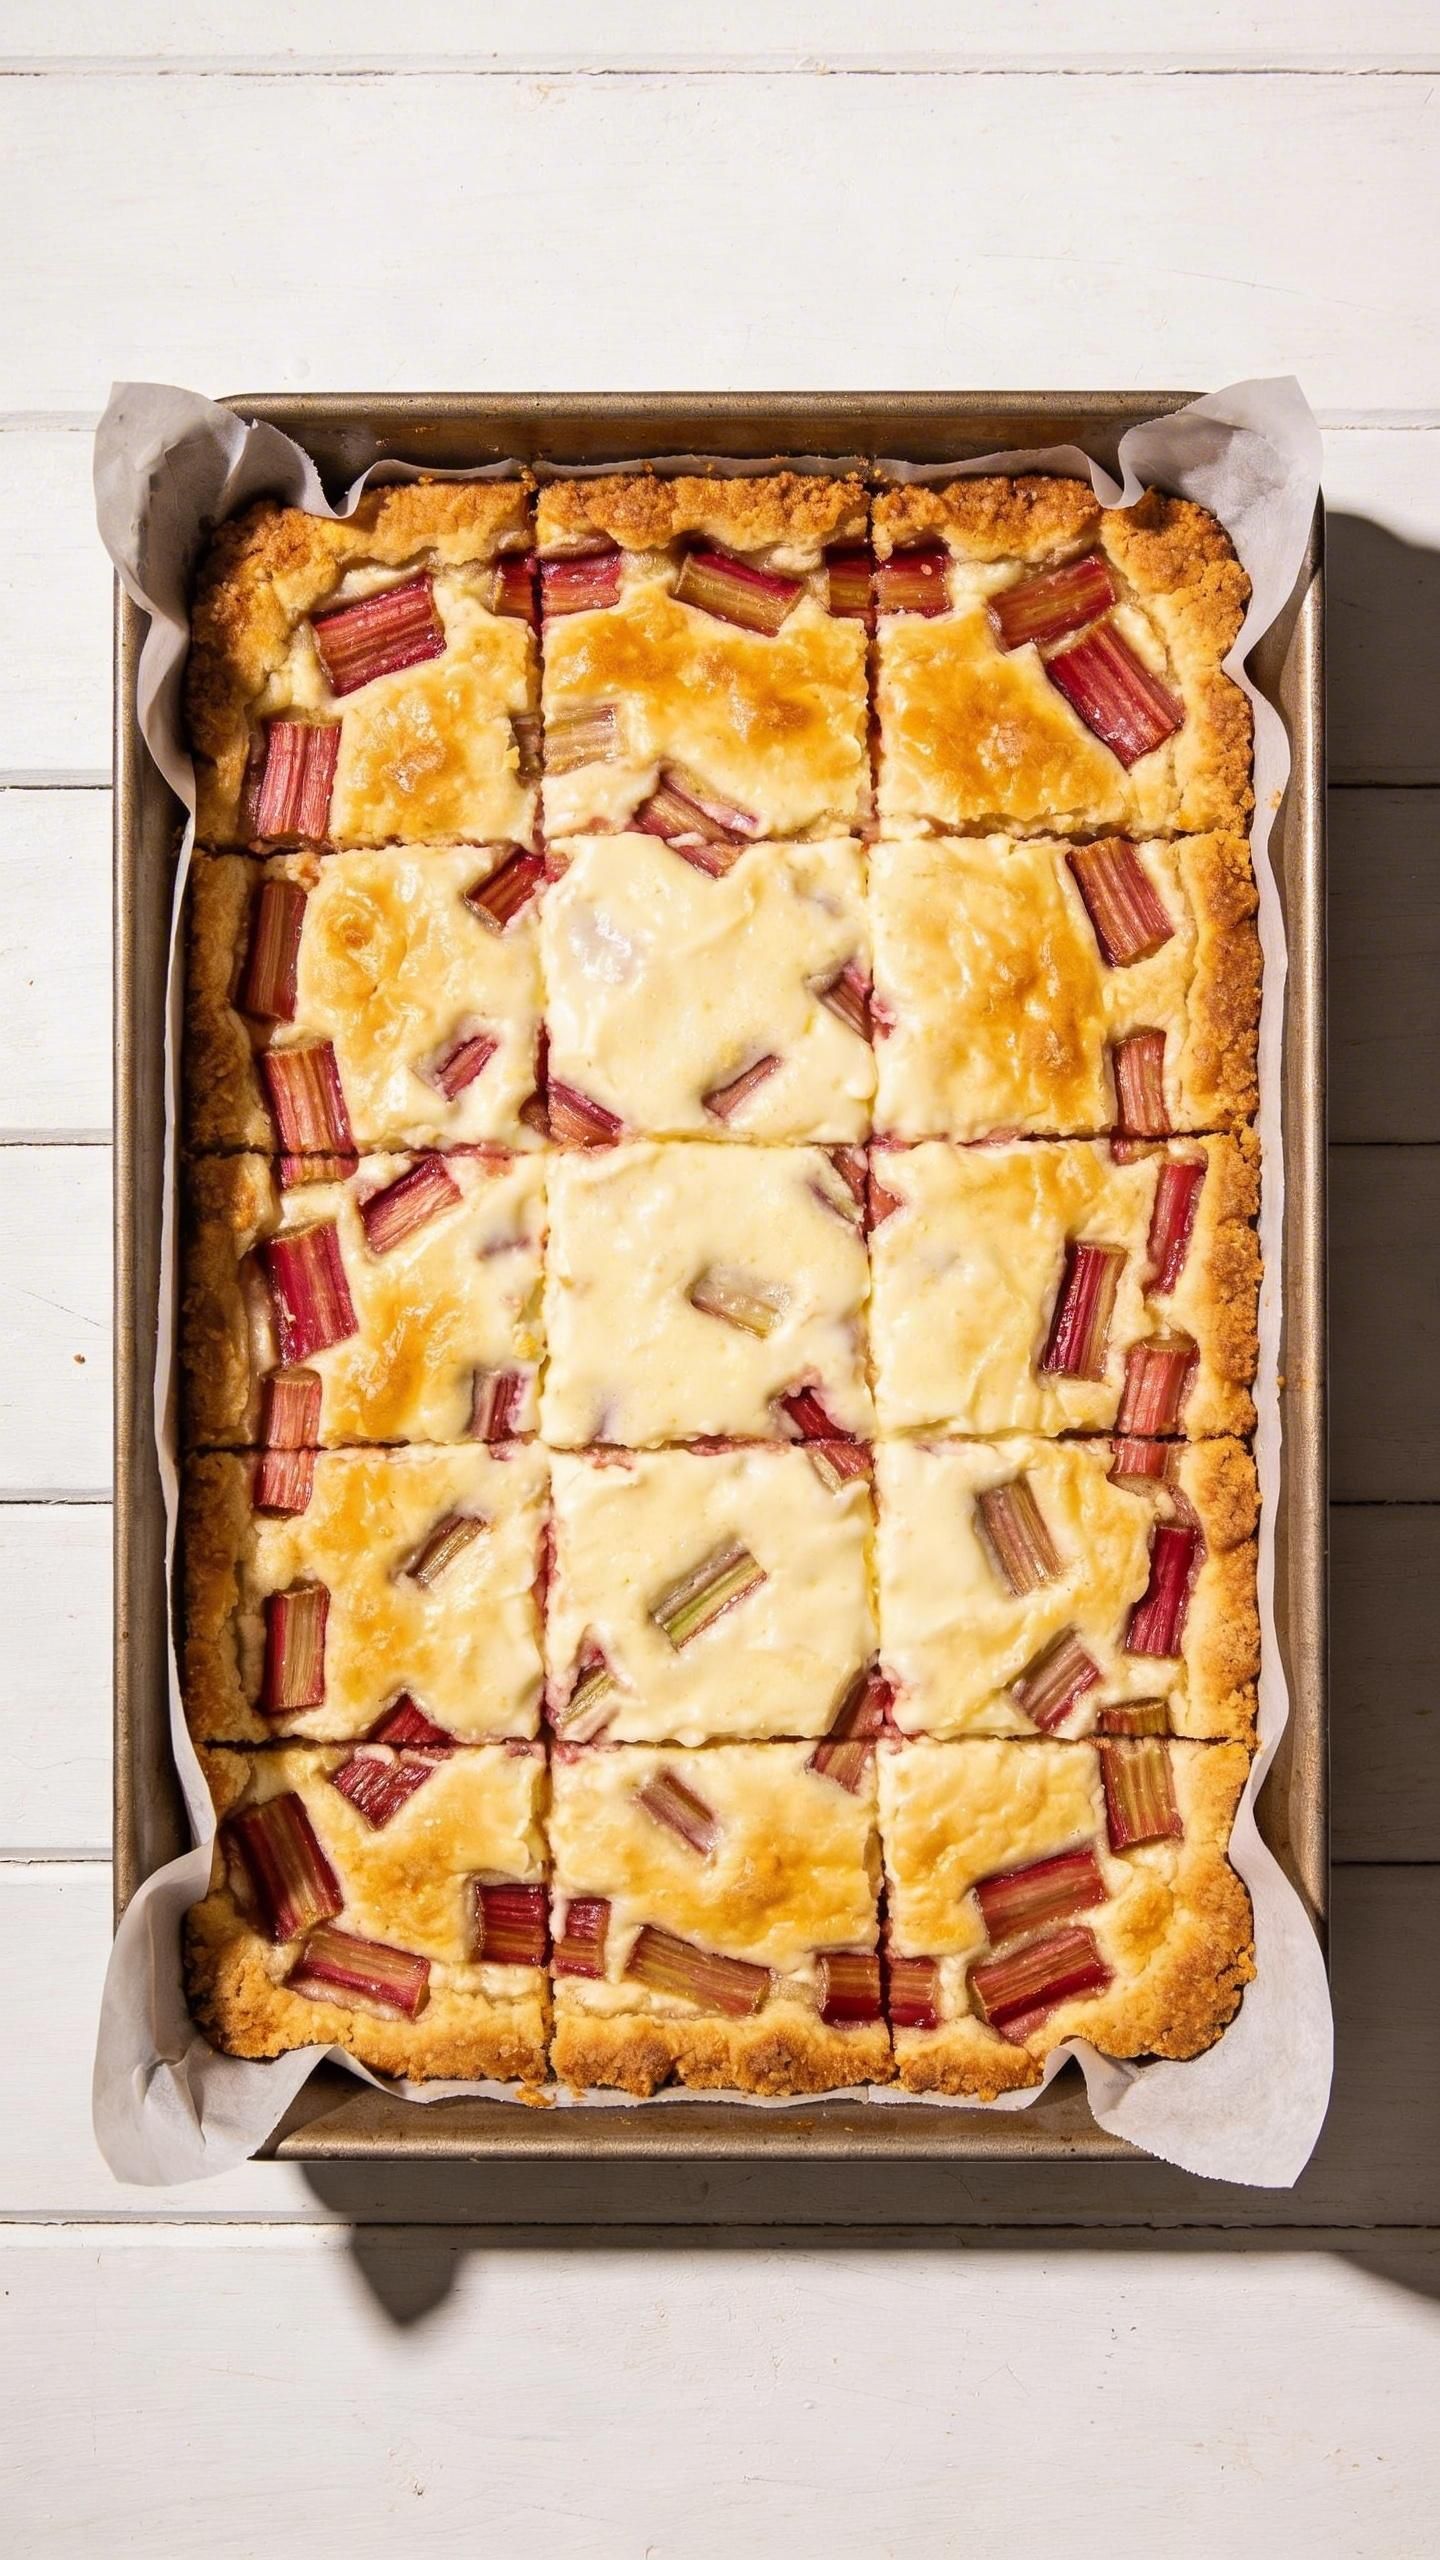
- Makes a crowd: One batch yields about 24 bars, making it perfect for potlucks, bake sales, or family gatherings. You’ll have plenty to share!
- Make-ahead friendly: You can prepare these bars a day or two in advance, which takes the stress out of entertaining. They actually taste better after sitting overnight.
- Uses seasonal produce: This recipe is a fantastic way to use up fresh rhubarb when it’s in season. You can also freeze rhubarb to make these bars year-round.
- Not too sweet: Unlike many dessert bars, these have a perfect balance of tart and sweet. They’re satisfying without being cloying.
- Impressive presentation: These bars look bakery-quality with their distinct layers. People will think you spent hours making them!
Pitfalls to Watch Out For
- Underbaking the crust: Make sure your bottom layer is lightly golden before adding the other layers. An underbaked crust will be soggy instead of crisp.
- Using frozen rhubarb without draining: If you use frozen rhubarb, thaw it completely and drain off excess liquid. Too much moisture will make your bars watery.
- Cutting too soon: I know it’s tempting, but cutting these bars before they’re completely chilled results in messy, uneven pieces. Patience pays off here!
- Overmixing the cream cheese: Beat the cream cheese mixture just until smooth. Overmixing incorporates too much air, which can cause cracks as the bars cool.
- Not lining the pan: Parchment paper makes removal so much easier. Without it, you’ll struggle to get clean bars out of the pan.
Alternatives
- Strawberry rhubarb version: Replace 1 cup of rhubarb with fresh strawberries for a classic flavor combination. The strawberries add extra sweetness and a beautiful color.
- Gluten-free option: Substitute the all-purpose flour with a 1:1 gluten-free baking flour blend. The texture will be nearly identical.
- Lower sugar variation: Reduce the sugar in the rhubarb layer by 1/4 cup if you prefer less sweetness. You can also use a sugar substitute in the cream cheese layer.
- Nutty crust: Add 1/2 cup of finely chopped pecans or almonds to the crust mixture for extra flavor and crunch.
- Lemon twist: Add the zest of one lemon to the cream cheese mixture for a bright, citrusy note that complements the rhubarb beautifully.
Frequently Asked Questions
Can I use frozen rhubarb for this recipe?
Yes, you can definitely use frozen rhubarb! Just make sure to thaw it completely and drain any excess liquid before using. Pat the rhubarb pieces dry with paper towels to remove as much moisture as possible. This prevents your bars from becoming too watery.
Why are my bars runny in the middle?
Runny bars usually mean they need more baking time or weren’t chilled long enough. The cream cheese layer should be set but slightly jiggly when you remove them from the oven. Always refrigerate for at least 2 hours before cutting to allow everything to firm up properly.
Can I make these bars without cream cheese?
While the cream cheese is what makes these bars special, you could make a simplified version with just the crust and rhubarb filling. However, you’d be missing out on that dreamy, creamy layer that makes these rhubarb cream cheese bars so irresistible!
How do I know when the rhubarb is cooked enough?
The rhubarb will soften and break down during baking, creating a jammy consistency. You’ll know it’s done when the cream cheese layer is set and the rhubarb is tender. Don’t worry if some pieces still hold their shape slightly – that adds nice texture.
Can I double this recipe?
Absolutely! You can double the recipe and bake it in two 9×13-inch pans. Keep the baking times the same, but check both pans as ovens can have hot spots that might cause one to bake faster than the other.
Wrapping Up
These dreamy rhubarb cream cheese bars are everything a spring dessert should be – fresh, flavorful, and absolutely delicious. The combination of textures and flavors creates something truly special that your family and friends will request again and again.
Don’t be intimidated by the three layers – this recipe is actually quite simple to make. The most challenging part is waiting for them to chill before diving in! Whether you’re a rhubarb enthusiast or trying it for the first time, these bars are sure to become a favorite in your recipe collection.
So grab some fresh rhubarb at your next market trip and give these bars a try. They’re the perfect way to celebrate the season and create something memorable in your kitchen!
Dreamy Rhubarb Cream Cheese Bars
Ingredients
For the Crust
- 2 cups all-purpose flour
- 1 cup unsalted butter softened
- ½ cup granulated sugar
- ¼ teaspoon salt
For the Rhubarb Filling
- For the rhubarb filling:
- 4 cups fresh rhubarb chopped into 1/2-inch pieces
- 1 ½ cups granulated sugar
- ⅓ cup all-purpose flour
- ¼ teaspoon cinnamon optional
For the Cream Cheese Topping
- 8 ounces cream cheese softened
- ½ cup granulated sugar
- 2 large eggs
- 1 teaspoon vanilla extract
- ¼ cup sour cream
Instructions
- Prepare your pan: Preheat your oven to 350°F. Line a 9×13-inch baking pan with parchment paper, leaving some overhang on the sides for easy removal later.
- Make the crust: Mix the flour, softened butter, sugar, and salt in a large bowl until the mixture resembles coarse crumbs. Press this mixture firmly into the bottom of your prepared pan. Bake for 15-18 minutes until lightly golden.
- Prepare the rhubarb filling: While the crust bakes, combine the chopped rhubarb, sugar, flour, and cinnamon in a medium bowl. Toss everything together until the rhubarb is evenly coated.
- Make the cream cheese mixture: Beat the softened cream cheese and sugar together until smooth and fluffy. Add the eggs one at a time, beating well after each addition. Mix in the vanilla extract and sour cream until completely combined.
- Assemble the bars: Once the crust is done, spread the rhubarb mixture evenly over the hot crust. Pour the cream cheese mixture over the rhubarb layer, spreading it gently to cover everything.
- Bake to perfection: Return the pan to the oven and bake for 40-45 minutes. The bars are done when the cream cheese layer is set and just slightly jiggly in the center.
- Cool completely: Let the bars cool to room temperature in the pan, then refrigerate for at least 2 hours before cutting. This helps them set properly and makes cutting much easier.